Accurate measurements are the foundation of a successful kitchen countertop project. Whether you’re working with granite, marble, or quartz, precision ensures a perfect fit, minimizes costly mistakes, and simplifies installation. Here’s the quick breakdown:
- Tools you’ll need: Steel measuring tape, graph paper, pencil, ruler, calculator, level, and template strips for irregular shapes.
- Workspace setup: Clear your countertops, ensure good lighting, and create a scale drawing of your layout.
- Steps to measure:
- Measure each section’s length and width, breaking complex shapes into rectangles.
- Note cutouts for sinks and appliances, marking their locations and dimensions.
- Calculate total square footage by multiplying length and width, then dividing by 144.
- Details to include: Overhangs, edge finishes, cabinet depths, and appliance placements.
Double-check your measurements and document everything clearly with labeled sketches and photos. This ensures your fabricator has all the necessary details for a flawless result.
Tools and Materials You Need
Required Measuring Tools
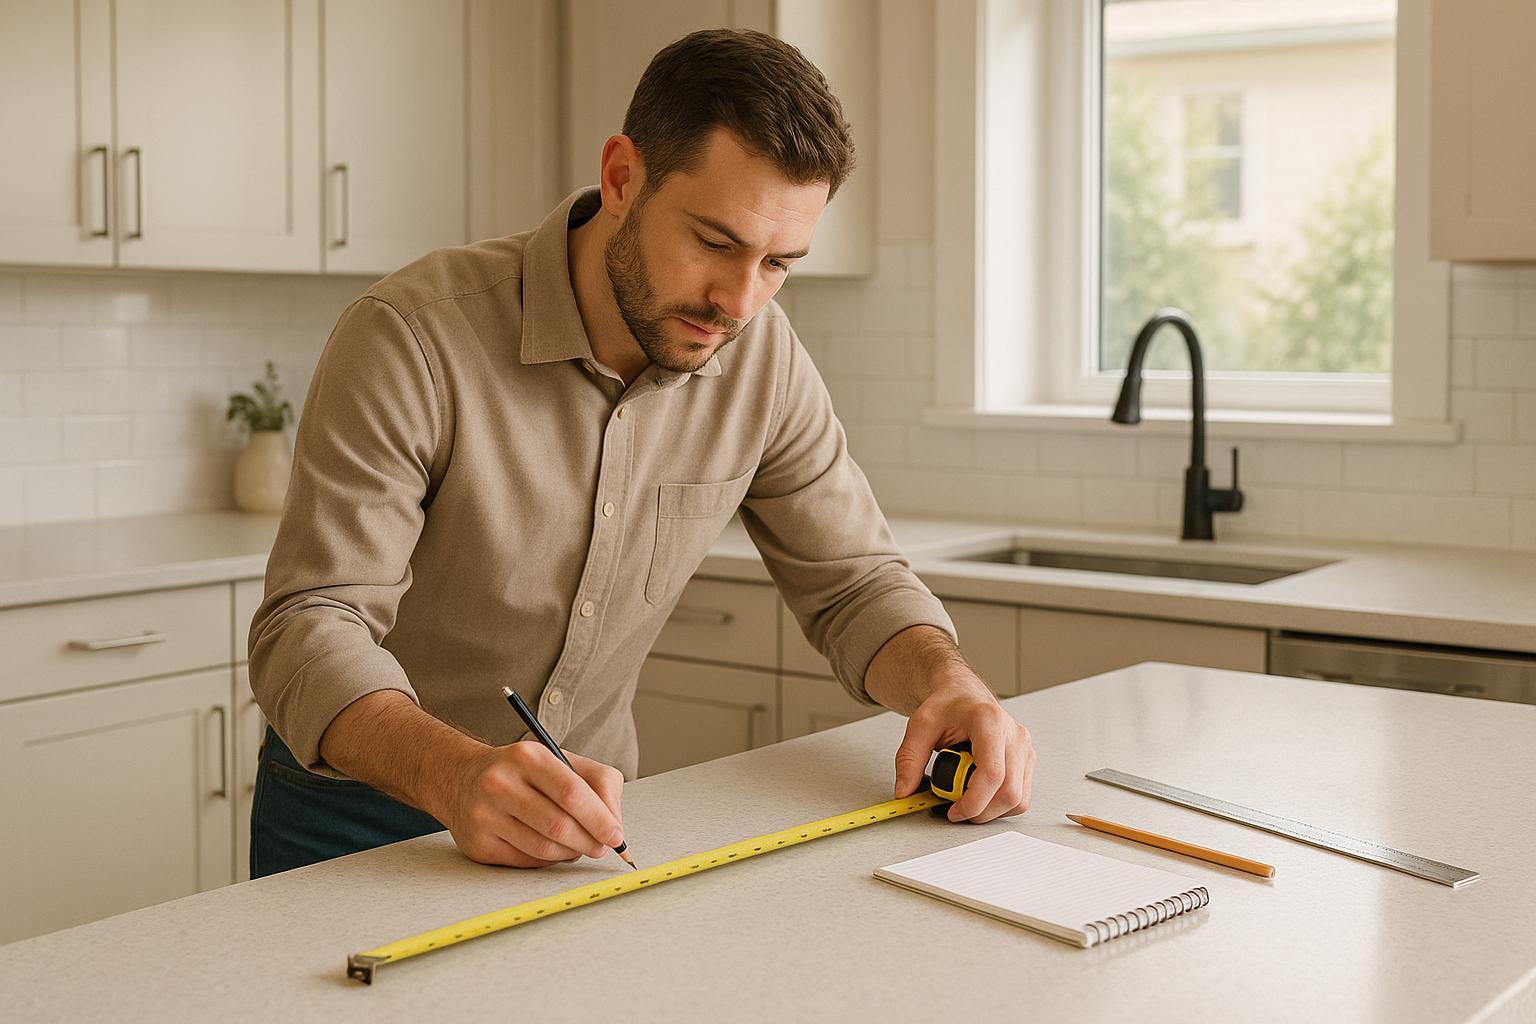
The right tools can make all the difference when measuring for kitchen countertops. Start with a retractable steel measuring tape – it’s far more dependable than fabric ones, as it won’t stretch or sag, ensuring precise measurements every time.
Next, grab some graph paper to create a scale drawing of your countertop layout. Opt for graph paper with quarter-inch squares, and use a scale like one square equaling two inches for clarity. Pair this with a pencil – it’s much easier to erase and correct mistakes compared to a pen. A straightedge or ruler will come in handy for drawing clean lines and checking if your walls are straight. Many kitchen walls have subtle imperfections, so this step is key.
A calculator is essential for crunching numbers, like calculating square footage or material requirements. You’ll also need a level to check for even surfaces during installation. For longer measurements, having a helper to hold the tape measure steady makes the process smoother.
If your kitchen has complex shapes or irregular corners, consider using template strips designed for custom measurements.
With these tools in hand, set up a workspace that’s clear and well-lit to ensure accuracy while you measure.
Setting Up Your Workspace
Before you start measuring, clear your countertops completely. Move everything off the surfaces – this includes small appliances like coffee makers, toasters, and knife blocks. You’ll want an unobstructed area to work.
Lighting is just as important. Turn on all your overhead lights, and if needed, bring in a portable work light. Good lighting helps you avoid misreading small increments on your tape measure, which could lead to errors.
Also, make sure the floor around your counters is free of clutter. You’ll need room to move safely and efficiently while measuring. A tidy workspace helps reduce mistakes, especially when working with materials like natural stone, where precision is critical.
Once your workspace is ready, start by sketching a scale drawing of your countertop layout on the graph paper. Break the layout into rectangular sections – this makes it much easier to measure and calculate complex kitchen designs systematically.
Record all measurements in inches, and aim for accuracy down to at least one-quarter of an inch. While digital tools can be helpful for saving your notes, always keep a physical backup of your sketch. This simple step can save you from headaches later on.
Drawing Your Kitchen Layout
Creating a Basic Outline
Start by using your scale drawing to map out each countertop surface as simple rectangles and squares on your graph paper. Make sure the proportions are accurate to get a clear bird’s-eye view of your kitchen layout. Don’t forget to include every counter surface – this means islands, peninsulas, bar tops, and ledges.
For the sink, sketch it as a rounded rectangle and measure the distance from the wall to the center of the sink opening. When marking the cooktop, draw a labeled rectangle in its proper location. These details help MI Stone’s fabrication team know exactly where cutouts need to go.
Mark the finished edges with an "X" to indicate where edge profiling is needed. Typically, this applies to exposed edges that face into the room, such as the front of an island or the ends of countertops.
If you’re measuring existing counters, make sure to account for the thickness of the backsplash. For bare cabinets, measure from the wall to the end of the cabinet and clearly mark where any overhangs should go. Once your sketch is complete, label each section clearly to turn it into a detailed reference.
Labeling Each Section
Clear labeling is key to turning your sketch into a professional-grade reference. Use a numbered key system to keep your plan uncluttered. For instance, you might assign numbers like 1 = Boiler, 2 = Waste pipe, 3 = Light switch, and create a legend on the side of your drawing.
"You can never give us too much information. The clearer your plan, the quicker and smoother the whole process will be."
– Lyam Thorpe, Head of Operations at Naked Kitchens
Be sure to mark important dimensions and features, such as wall lengths, ceiling height, and the placement of doors, windows, and obstructions like beams. Include the locations of water and waste pipes, light switches, plug sockets, radiators, and meters that could affect installation. If your current kitchen is still in place, note the cabinet depths as well.
If your kitchen has sloped ceilings or awkward angles, make a note of these as they could impact the fabrication or installation process. You should also include your material preferences directly on the sketch – for example, the granite color, backsplash size, or desired edge profiles.
"Measure everything. Even things you think might not matter. You’d be surprised what ends up being important."
– Lyam Thorpe
Finally, take photos of each wall, the area under the sink, the boiler, and any tricky spots. These images serve as visual aids to clarify details that might not come across through measurements alone.
How to Measure Your Countertops
Measuring Length and Width
Start by measuring each section of your countertop individually. For areas with curves, break them into rectangular sections for easier calculations. Use a measuring tape to record the length (from wall to wall) and the depth (from the wall to the front edge). Standard kitchen countertops are generally between 24.5 and 25.5 inches wide, with granite countertops often measuring 25.5 inches deep to allow for a standard overhang on 24-inch cabinets. If you want an overhang beyond the standard size, add 1–1.5 inches to your measurements. For complex layouts, like L-shaped countertops, divide them into separate rectangles and calculate the area for each section separately. Double-check your measurements, especially for longer spans – having someone assist you can make this easier.
Once you’ve measured the main sections, move on to cutouts for sinks and appliances.
Measuring Cutouts for Sinks and Appliances
When measuring cutouts, accuracy is key. Measure the sink and cooktop cutouts from their outer edges and label them clearly. On your sketch, use squares or rectangles to show where each cutout will go. The most important measurement is the distance from the wall to the center of each cutout. For drop-in appliances, measure from the right edge of the countertop to the center of the appliance. For sinks, measure from the outer edge of the sink area to the center of the plumbing. Be sure to record details about your appliances to assist with fabrication. Handmade sinks may require additional measurements to ensure accuracy. For cooktops and ranges, provide your fabricator with the exact model number, and if necessary, include the template from the appliance box. It’s a good idea to have your sink and faucet on hand during this process to avoid any surprises. Finally, write down the exact size of each cutout to ensure everything fits perfectly.
For layouts that don’t follow standard shapes, a slightly different approach is required.
Measuring Custom Shapes
For irregular or custom shapes, break the area into rectangles or squares to simplify the process. For curved sections, measure the maximum width and length. Treat features like corner sinks or ledges as if they were square sections, focusing on the center area for measurements. MI Stone fabricators aim to create single-piece cuts whenever possible. Make sure your sketches clearly show all custom shapes, appliance locations, and any exposed edges that will need finishing. If you’re replacing existing countertops, include cabinet measurements as well. When in doubt, share your measurements and sketches with MI Stone’s experts. Their experience with custom fabrication can help you spot potential issues and ensure your countertops are a perfect fit for your kitchen.
sbb-itb-e397dd0
Calculating Total Area and Next Steps
Calculating Square Footage
Start by using your earlier measurements to determine the area of each countertop section. Multiply the length by the width to get the area in square inches, then divide by 144 to convert it into square feet. For example, if your countertop measures 108″ in length and 25.5″ in depth, the calculation would be:
108″ × 25.5″ = 2,754 square inches ÷ 144 = 19.12 square feet.
If your kitchen has multiple sections, calculate the square footage for each piece individually and then add them together. Keep in mind that even with cutouts for sinks or appliances, you’ll be purchasing the full slab, as pricing is based on the entire material size. Don’t forget to include overhangs in your measurements, as they contribute to the total material needed. Most kitchens typically require between 40 and 60 square feet of countertop material.
Once you’ve calculated the total area, document these details to prepare for fabrication.
Organizing Your Measurements for MI Stone

To ensure a smooth fabrication process with MI Stone, create a detailed, labeled plan-view diagram. This should include:
- The length and width of your countertops or cabinets
- Locations of walls and doors
- Placement of sinks, refrigerators, dishwashers, and cooktops or ranges
- Dimensions of overhangs or angled cuts
Label each section with identifiers like “Section A,” “Section B,” “Main Counter,” “Island,” or “Peninsula”. Always record measurements in inches to avoid confusion. Additionally, note preferences for seam locations, backsplash dimensions (length and height), and any other specific details like edge profiles, sink types (undermount or drop-in), or finishes. Taking photos of your current countertop layout can also help MI Stone’s team understand your space better. For added clarity, consider using graph paper to create a to-scale sketch.
Before finalizing your summary, double-check all measurements and include any additional notes about special features or cutouts. Accurate details will ensure a seamless fabrication process.
Selecting Your Stone Material
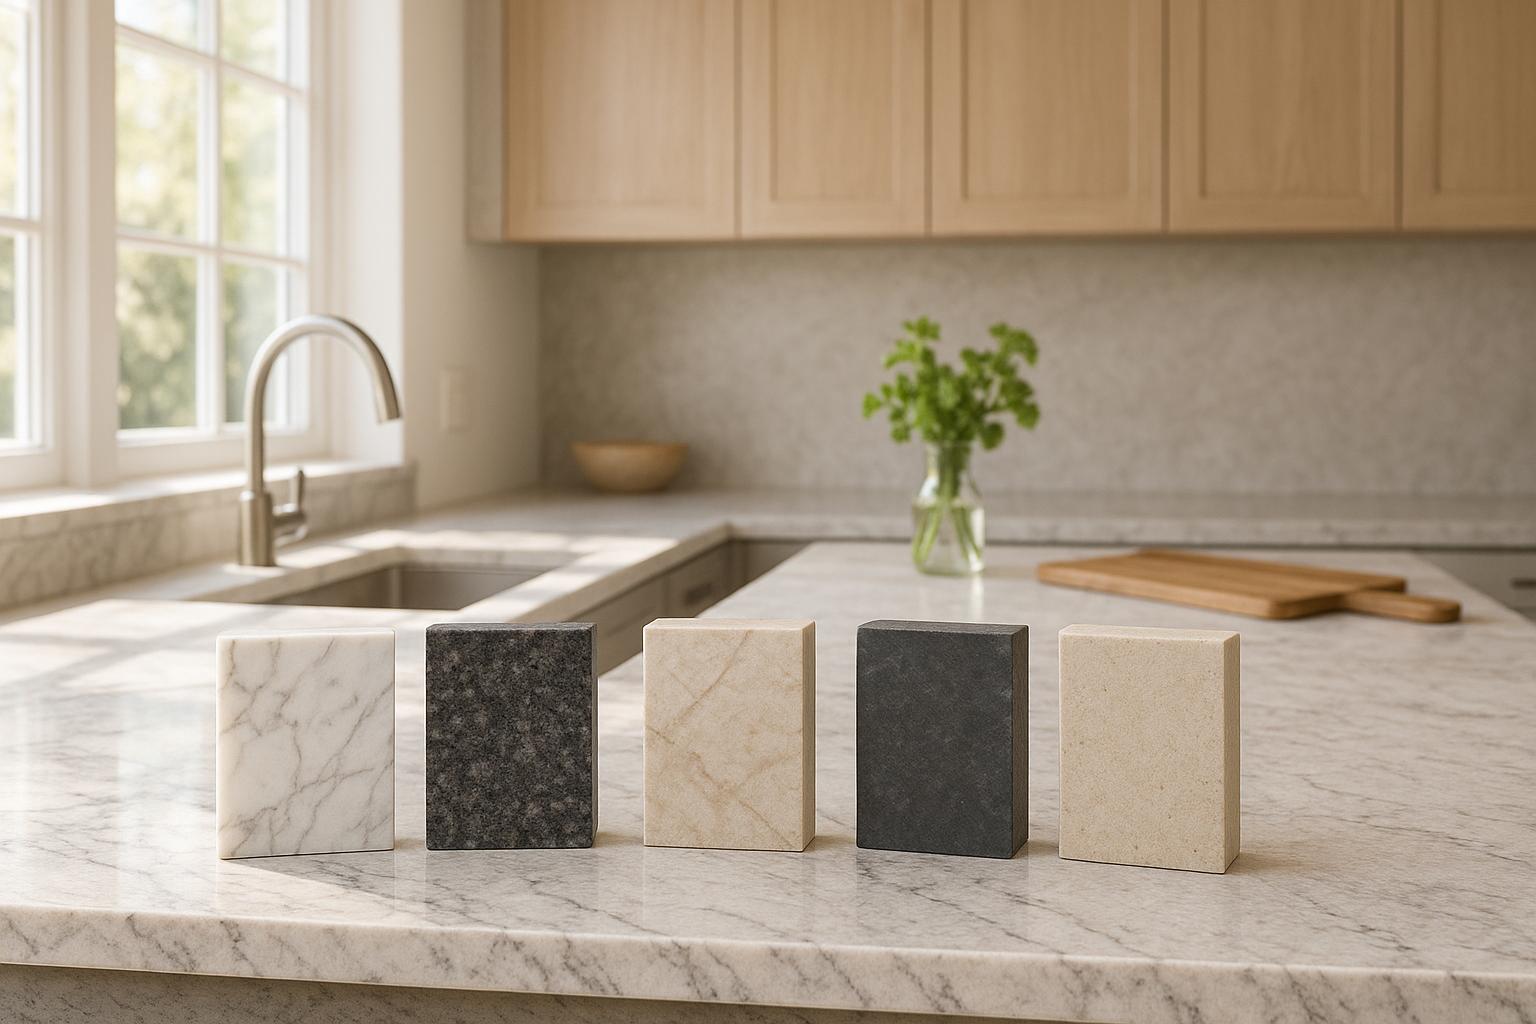
With your layout finalized, it’s time to choose a stone that matches your kitchen’s look and functionality. Each type of stone offers distinct advantages:
- Granite: Known for its heat resistance and durability, making it ideal for busy kitchens.
- Marble: Offers timeless elegance with unique veining but requires more upkeep.
- Quartz: Provides consistent patterns and a non-porous surface that resists stains.
- Onyx: Adds a dramatic touch with its translucent properties.
- Porcelain: A modern option with large-format versatility.
When selecting your material, consider your lifestyle and how you use your kitchen. For example, if you’re adding bar seating, remember that overhangs for this purpose typically extend 10–16 inches for comfortable seating, while standard overhangs generally extend 1.5 to 2 inches beyond the cabinetry. Larger overhangs may need extra support.
Also, think about design extras like waterfall edges, full-height backsplashes, or thickened edges. These features require additional material and can impact your total square footage. If your layout exceeds the size of a single slab, seams may be necessary. MI Stone’s team can help determine the best seam placement to maintain a cohesive look.
Step-by-Step Guide to Measuring Your Countertop for Remodeling
Conclusion: Key Steps for Measuring Countertops
Getting precise countertop measurements isn’t just about numbers – it’s about following a clear and organized process. Start by gathering the basics: a reliable tape measure and a sketch pad. Then, draw a rough outline of your countertop layout. For curved or round islands, simplify things by treating them as squares when calculating the area.
Measure the length and width of each section, noting down any cutouts or overhangs. To convert the area from square inches to square feet, divide by 144. For each section, multiply the length by the width to get the total area.
Double-check every measurement – mistakes can lead to unexpected costs and delays. If you’re unsure, it’s better to slightly overestimate since extra material can always be trimmed later. This careful approach ensures a solid foundation for the next steps.
Once your measurements are confirmed, take your project to the next level by working with professionals. MI Stone offers expert measurement, custom templating, and fabrication services to ensure a perfect fit for your countertops.
Be sure to document your layout with clear photos and a detailed plan. Share these with MI Stone’s team to help them create a custom solution tailored to your space. Their expertise will bring accuracy and precision to your installation.
FAQs
What should I avoid when measuring for new kitchen countertops?
When measuring for new kitchen countertops, there are a few things you’ll want to keep in mind to avoid common mistakes. First, always include the countertop overhangs in your measurements – missing this detail can result in a poor fit. Second, check the clearances between countertops, cabinets, and appliances to ensure there’s enough space for everything to fit properly. Third, be extra careful with corners. If they aren’t perfectly square (90 degrees), it can throw off your measurements and lead to installation headaches.
To save yourself from costly errors, double-check every measurement and take your time to get it right. Measuring more than once is a simple way to confirm accuracy before making any final decisions.
What’s the best countertop material for my kitchen based on my cooking habits and lifestyle?
Choosing the right countertop material boils down to how you use your kitchen and your cooking habits. If your kitchen sees a lot of action or you have a bustling household, focus on materials that offer durability, heat resistance, and easy upkeep.
Take quartz, for instance. It’s a solid pick for busy kitchens thanks to its toughness, stain and scratch resistance, and minimal maintenance requirements. Another strong contender is granite – a natural beauty with excellent heat resistance – perfect for those who need a reliable and sturdy surface for daily cooking.
Ultimately, it’s all about matching your countertops to your lifestyle. Whether you lean toward stylish designs, practical functionality, or hassle-free care, there’s a material out there to meet your needs.
How do I measure countertops with irregular shapes or unusual angles?
When dealing with countertops that have irregular shapes or tricky angles, the best approach is to break the area into smaller, easier-to-measure sections, like rectangles or triangles. Measure the length and width of each section in inches, calculate the area for each, and then add them up to find the total surface area.
For non-standard angles, tools like a protractor or angle finder are essential to get precise measurements. If you’re working with corners or angled sections, measure each segment leading to the corner or angle individually. To keep everything organized, draw a detailed diagram of your countertop layout, making sure to label all measurements clearly. This extra step can save you from costly errors when it’s time to install.


