Want to protect your granite countertops from stains and damage? Sealing is the key. Granite’s natural pores can absorb liquids like wine, oil, or water, leaving behind permanent marks if left untreated. Luckily, sealing granite is simple and can be done at home with the right tools and steps.
Here’s what you need to know:
- Granite sealer creates a protective barrier, repelling liquids and preserving the stone’s appearance.
- Test your countertop’s current seal by spraying water on it – if it absorbs quickly, it’s time to reseal.
- You’ll need a granite cleaner, microfiber cloths, gloves, and a high-quality sealer to get started.
- Clean, dry, and test the surface before applying the sealer in small sections.
- Allow the sealer to absorb, wipe away excess, and let it cure for 24–48 hours.
Regular maintenance is just as important – use pH-neutral cleaners, avoid acidic substances, and test the seal every 6–12 months to keep your countertops looking their best.
How to Properly Seal Granite
Why Granite Countertops Need Sealing
Granite, while durable and beautiful, has tiny natural pores formed during its crystallization process. These microscopic gaps, which vary in size and distribution, make the stone vulnerable to staining. This porosity plays a key role in how stains develop on its surface.
How Granite Absorbs Stains
When granite isn’t sealed, it can soak up liquids and oils, leading to permanent stains and discoloration. For instance, water can seep into unsealed granite, leaving behind dark spots. Meanwhile, acidic substances like coffee, wine, citrus juices, and tomato sauce can react with the stone, causing noticeable stains. Beyond cosmetic concerns, this absorption can also create an environment for bacteria to grow within the stone’s pores, which could be a potential health issue in areas where food is prepared.
Tools and Materials for Sealing
Before starting your sealing project, make sure you have all the necessary tools and materials on hand. Being prepared helps you avoid interruptions and ensures a smooth application process.
Required Tools
- Microfiber cloths: These are a must-have. Use one to apply the sealer evenly and another to wipe away any excess. Microfiber cloths are gentle on granite surfaces, ensuring a scratch-free and smooth application.
- Spray bottle: This versatile tool is handy for cleaning the countertop before sealing and for applying water during the seal test. If you’re working on larger surfaces or multiple countertops, a pump sprayer might be a better option. It covers more area efficiently and helps reduce hand strain during bigger tasks.
- Rubber gloves: Protect your hands from potential irritation caused by cleaning products or sealers. Many granite sealers contain chemicals that can be harsh on your skin, so gloves are an essential safety measure.
- Soft brush: If your granite has a textured surface, a soft brush can help ensure even application of the sealer.
Required Materials
- Granite cleaner or mild dish soap: This is crucial for removing residue, grease, or buildup that might prevent the sealer from adhering properly. Avoid acidic or harsh cleaners, as these can damage the granite surface.
- High-quality granite sealer: Choose a sealer specifically formulated for natural stone to get the best results.
Once you’ve gathered these tools and materials, you’ll be ready to clean and prepare your countertop for sealing.
Preparing Your Countertop
As mentioned earlier, getting your granite countertop ready is the foundation for ensuring its protection lasts. Skipping steps or rushing through this process can lead to poor sealer adhesion, leaving your granite vulnerable.
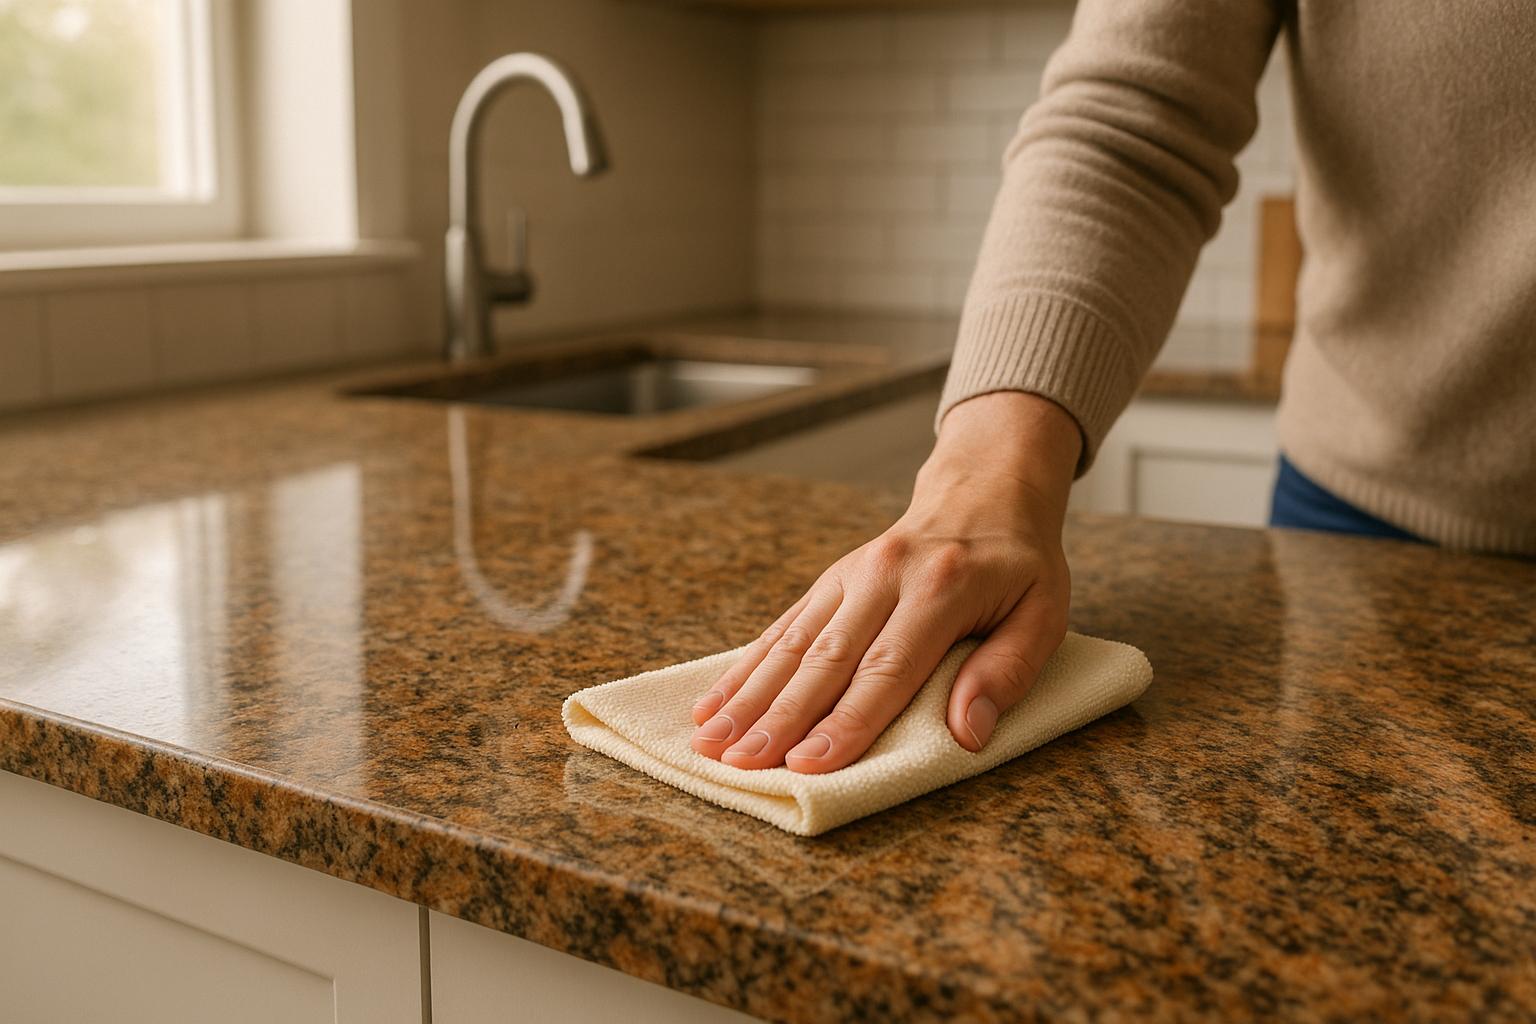
Cleaning the Surface
Start by clearing everything off your countertop. You’ll need full access to every part of the granite to clean and seal it effectively.
Use a pH-neutral granite cleaner or mild dish soap mixed with warm water to clean the surface. Avoid acidic cleaners like vinegar or lemon-based products, as they can damage the granite and disrupt the sealing process. If you’re unsure, stick to a cleaner specifically made for natural stone.
Wipe down the entire countertop, paying special attention to high-traffic areas like the sink, stove, and food prep zones. These spots tend to collect grease and residue. Don’t overlook the edges and backsplash if they’re also granite – these areas need sealing too.
Once cleaned, make sure the surface is completely dry. You can let it air dry for 15–30 minutes or speed things up with a clean microfiber cloth. A dry surface is crucial for the sealer to absorb properly. Once dry, you’re ready to check the condition of the existing seal.
Testing Your Current Seal
Before applying a new coat of sealer, it’s a good idea to test the current seal. This quick water test can help you determine whether resealing is necessary.
Fill a spray bottle with clean water and lightly spray it on different sections of the countertop. Focus on heavily used areas like around the sink, stove, and food prep zones, as these are where seal wear tends to show first.
Observe the water droplets for about 15 minutes:
- If the water beads up and stays on the surface, your seal is still doing its job, and resealing might not be needed just yet.
- If the water starts to absorb into the granite within 4–5 minutes, it’s time to apply a fresh coat of sealer.
- If the water absorbs almost immediately (1–2 minutes), your granite has little to no seal left, and sealing should be done as soon as possible.
Keep in mind, some granite types are more porous than others, so it’s normal for results to vary across different sections of your countertop.
Once you’ve finished the water test, wipe away any remaining water with a clean microfiber cloth and allow the countertop to dry completely again. Any leftover moisture can interfere with the sealing process, so don’t skip this step.
sbb-itb-e397dd0
How to Apply Granite Sealer
To ensure your granite countertop stays protected, start with a clean, dry, and unsealed surface. Once ready, follow these steps to apply the sealer effectively.
Applying the Sealer
First, give the sealer bottle a good shake to mix any settled ingredients. Instead of pouring the sealer directly onto the granite, apply a small amount to a clean microfiber cloth. This helps you control the application process better.
Work in small sections, about 3–4 square feet at a time, using circular motions to evenly spread the sealer and help it penetrate the granite’s pores. Don’t forget to cover edges and backsplashes, and pay extra attention to high-use areas like around the sink, stove, and food prep zones. Once applied, allow the sealer to absorb before moving to the next step.
Letting the Sealer Absorb
After applying the sealer, give it 10–30 minutes to absorb, or follow the timing recommended by the manufacturer. If a second coat is needed – often the case for lighter-colored granite – wait 3–5 minutes before reapplying. This ensures the first layer stays slightly tacky, which is essential for the next coat to bond properly.
During the absorption phase, the surface may appear slightly wet or glossy, which is completely normal.
Wiping Away Excess
When the absorption time is up, use a clean, dry microfiber cloth to wipe away any excess sealer. Work in firm, even strokes, moving in the same direction to avoid streaks. Leaving excess sealer on the surface can create a hazy finish, so it’s important to remove it promptly.
If you notice hazy spots where the sealer has started to dry, spray a small amount of fresh sealer onto the area to reactivate it, then wipe it clean with a fresh cloth. Check the surface under good lighting to ensure it looks uniform, without streaks, haze, or overly glossy patches.
Curing Time
Once the excess is wiped away, allow the sealer to cure completely. Avoid using the countertop, exposing it to water, or placing items on it for 24–48 hours. This curing period is crucial for the sealer to bond fully with the granite. Testing the seal too early or using the surface prematurely can reduce its effectiveness. To get the best results, plan your project for a time when you can temporarily avoid using the kitchen. A little patience now will provide long-lasting protection.
Caring for Sealed Granite
Once your granite countertop is sealed, keeping up with regular maintenance is key to preserving its protection and appearance. Proper care ensures the seal lasts longer and keeps your granite looking its best.
Daily Cleaning
Stick to gentle cleaning methods that won’t harm the protective seal. A simple mix of warm water and a few drops of mild dish soap is all you need. Use a spray bottle or bowl to apply the solution, which effectively clears away everyday dirt, grease, and food residue without damaging the seal.
Wipe the surface with a soft microfiber cloth or a non-abrasive sponge to trap dirt while avoiding scratches. After cleaning, dry the area thoroughly. Regularly check the seal for signs of wear to catch any issues early.
Stay away from harsh cleaners like bleach, ammonia, vinegar, or citrus-based products, as these can weaken the seal. Similarly, avoid abrasive tools like steel wool or rough sponges, which can scratch the granite and compromise its protection.
For tough spills or dried-on messes, let the soapy water sit on the spot for a few minutes to loosen the residue. Then, gently wipe it away without scrubbing aggressively.
Regular Seal Testing
To keep your granite in top shape, test the seal every 6 to 12 months. The same water test you used before sealing works well for routine checks.
Simply place a few drops of water on different areas of the countertop, set a timer for 15 minutes, and observe. If the water beads up on the surface, your seal is still intact. If it starts to absorb into the granite or leaves a dark spot, it’s time to reseal.
Lighter granite colors make it easier to spot water absorption, while darker stones may require closer inspection. Some types of granite are naturally more porous and may need resealing more frequently, whereas denser varieties can go longer between applications.
To stay on top of seal testing, mark the dates on a calendar or set reminders on your phone. Regular monitoring helps you catch any signs of deterioration early, preventing stains or damage that might need professional attention.
Protection Tips
- Clean up acidic spills as soon as possible to avoid staining.
- Use coasters under glasses and bottles to prevent water rings and condensation damage.
- Place trivets or hot pads under hot pots and pans to protect the granite and its seal from thermal stress.
- When cleaning, work in small sections to ensure the solution doesn’t sit too long in one spot. This also gives you time to dry each area thoroughly before moving on.
- Buff the countertop weekly with a dry microfiber cloth to maintain its shine and remove any lingering residue. This not only keeps your granite looking polished but also helps you spot areas where the seal might be wearing thin.
MI Stone‘s Granite Services

When it comes to achieving flawless granite countertops with ease and precision, professional services make all the difference. While regular maintenance helps keep your countertops in good shape, MI Stone’s expert installation ensures long-lasting beauty and functionality.
By combining high-quality materials with skilled craftsmanship, MI Stone delivers granite countertops that are both durable and visually stunning. Their comprehensive services cover every aspect of the process, from precise fabrication and measurements to custom templates and full kitchen renovations, including cabinetry options tailored to your needs.
Professional Installation Services
MI Stone takes care of every detail during the fabrication and installation process. Their team ensures precise measurements and a custom fit, seamlessly integrating your countertops with your cabinetry. This meticulous approach minimizes errors and guarantees a polished, professional finish.
Granite Selection
At MI Stone’s showroom, you’ll find a wide array of granite slabs sourced from around the world. Whether you prefer a timeless classic or a modern design, there’s something to suit every taste and purpose. From the initial selection to sealing and flawless installation, MI Stone provides everything you need to complete your granite project with confidence.
Conclusion
Taking proper care of your granite countertops not only keeps them looking stunning but also ensures they last for years to come. Sealing plays a key role in protecting your countertops from stains and wear, making it a must for maintaining their natural beauty and value.
The process doesn’t require fancy tools or complicated steps. With a good cleaning, a quick seal test, and careful application of the sealer, you can keep your countertops ready to handle the demands of daily life while preserving their polished, vibrant finish.
Simple habits like cleaning up spills promptly and using pH-neutral cleaners can go a long way in extending the life of your seal. And by regularly testing with the water droplet method, you’ll know exactly when it’s time for a touch-up.
Whether your granite is brand new or has been part of your home for years, these techniques will help keep it in top shape. Granite countertops aren’t just functional – they’re a statement piece that adds elegance and value to your home, and a little maintenance ensures they remain a standout feature for years to come.
FAQs
How often should I reseal my granite countertops to keep them protected from stains?
To keep your granite countertops looking great and safe from stains, resealing them every 12 to 18 months is usually a good rule of thumb. That said, the exact timing can depend on a few factors, like the type of granite, how often you use the surface, and the quality of the sealant applied initially.
Not sure if it’s time to reseal? Try the water test: pour a small amount of water onto the countertop. If it beads up, your seal is still doing its job. But if the water starts to soak into the granite within a few minutes, it’s a clear sign that your countertops need resealing.
How can I tell if my granite countertop needs to be resealed?
If your granite countertop shows signs like water soaking into the surface, stains appearing more frequently, or a dull, uneven look, it might be time to reseal it. Other clues include the presence of watermarks, dark patches, or a rough, uneven texture.
A quick way to check is by pouring a small amount of water on the surface. If the granite absorbs the water or darkens within a few minutes, it’s a clear sign that resealing is needed.
What cleaning products or practices should I avoid to protect the seal on my granite countertops?
To keep the seal on your granite countertops intact, steer clear of harsh chemicals like bleach, ammonia, vinegar, or any acidic or abrasive cleaners. These substances can harm both the stone and its protective seal. Even common cleaners such as Windex, Lysol, or Clorox, particularly those with bleach or ammonia, should be avoided.
Instead, opt for pH-neutral cleaners, a mix of mild dish soap and water, or a diluted isopropyl alcohol solution for disinfecting. Use gentle, non-abrasive tools like microfiber cloths to clean the surface without causing damage. These straightforward steps will help preserve the beauty and longevity of your granite countertops for years.